Instructions for changing engine oil yourself for cars
Changing the engine oil for your car at home is a way to help car owners save a lot of money and time.
Although changing car engine oil is not too complicated, it still requires the person doing it to have basic knowledge and understanding of the vehicle.
To ensure the oil change process is safe, the car owner needs to fully prepare tools such as a car jack, stand, waste oil tray, specialized disassembly and assembly tool kit, protective gear, cleaning cloth, oil funnel...
After preparing all necessary tools, you can proceed to change the oil for the car engine according to the following procedure:
Step 1: Drain engine oil
Park the car on a flat, hard surface, raise the front of the car and use jacks on both sides to give yourself enough height to get under the car. Note: Do not drain the oil while the engine is still hot. Because the working area under the car is narrow, you can get oil splashed on you and cause burns. When draining the oil, put a large piece of cardboard under the floor to avoid oil splashing on the floor.
Step 2: Collect the drained oil
Before removing the drain plug, make sure the drain pan is in the correct position for the drain line to flow into. If it is not in the correct position, the drain oil may leak out and make a mess on the floor.
When removing the oil drain bolt, you can quickly pull it out and hold it or put a mesh cover on the oil pan to prevent the bolt from falling into the pan. Note to let the drained oil drain into the pan, then re-attach the oil drain bolt and tighten it with enough force.
Step 3: Remove the old oil filter
After the oil has drained out, remove the oil filter. Once removed, pour all the oil in the filter into the drain oil container, then dispose of the oil filter in the correct trash can.
Step 4: Replace the new oil filter
Each type of oil filter has a different size, the car owner needs to choose the right filter for his car. Before installing the new oil filter, it is necessary to apply a layer of oil around the rubber gaskets on the filter to increase the ability to seal and catch easier. Next, pour an amount of oil equal to 2/3 of the filter and put the filter in place.
Note, hold the filter upright when installing to avoid oil leakage, turn by hand until firm, then use the filter opening tool to tighten until you feel the right amount of force. The oil filter should not be tightened too much because it can break the rubber gasket and make it difficult to remove when replacing later.
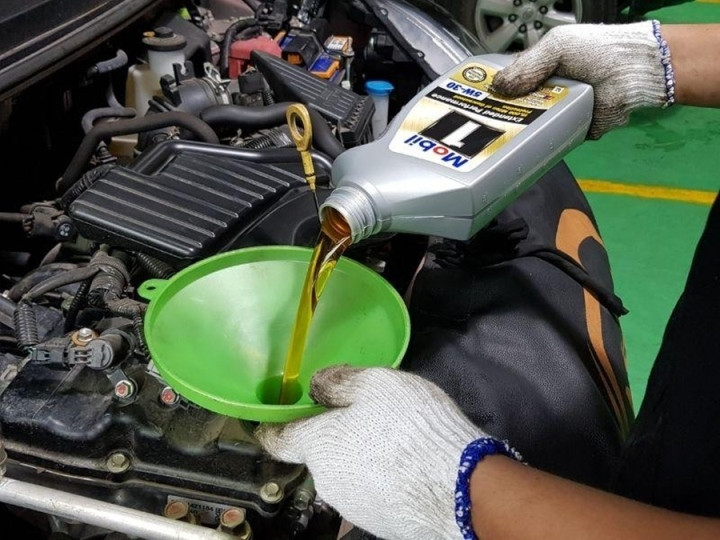
Step 5: Change new oil
Open the oil tank cap, place the funnel in the correct position and pour new oil into the vehicle. To ensure the correct oil change, the vehicle owner should refer to the owner's manual. Note, do not pour the exact amount of oil specified in the manual. Instead, pour a little less. For example, if the vehicle is 4 liters, pour 3.5 liters because there is still some oil in the engine parts and it will not flow out when draining.
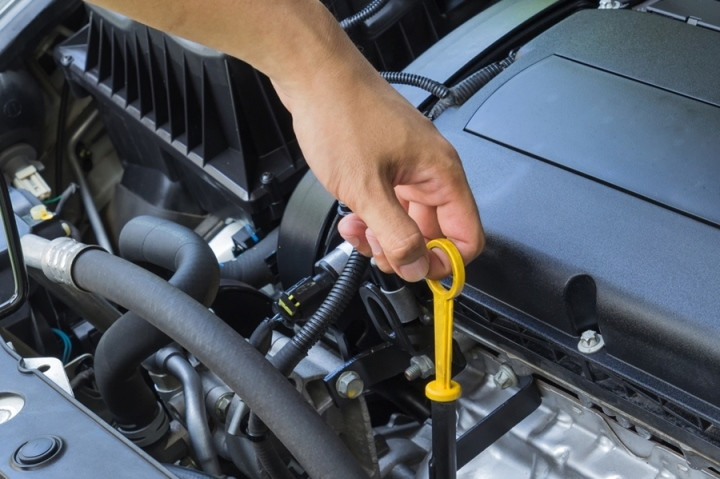
After adding oil, remove the dipstick and check. If the oil level is not enough, add more oil until it feels right.
Step 6: Check again
After pouring new oil, start the vehicle to lubricate the engine parts and the entire system.
Note, cars that are not used for a long time still need to have their oil changed. Because, oil stored in the engine for a long time will also degrade over time.