
Secrets to photographing snow: 5 common mistakes and how to fix them.
How to take snow photos without them looking gray or bluish? Discover the exposure techniques, white balance, and equipment needed to capture beautiful winter images.
Why does the snow in the photo appear gray or blue?
Photographing snow is a challenge for many photographers, especially beginners, as the results are often unsatisfactory. The most common problem is that the snow in the photos appears gray or bluish instead of pristine white.
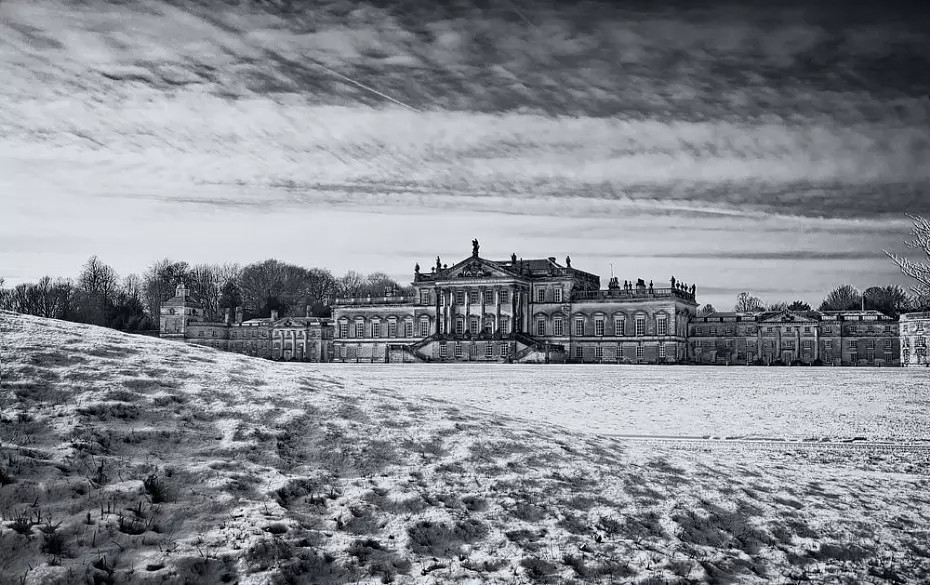
The primary cause stems from the camera's metering system. Cameras are designed to interpret most scenes at a neutral gray (mid-grey) level. When faced with a pure white scene like snow, the system automatically reduces exposure to bring the white closer to a neutral gray, resulting in the snow appearing gray.
Similarly, when photographed under a clear blue sky, this lack of light can cause the snow to appear bluish due to the reflection of light from the sky.
Solutions for realistic snow colors
To overcome these problems and accurately recreate the white color of snow, you can apply the following techniques:
- Use Scene Mode:If using a compact camera, find and switch to the "Snow Scene" mode. This mode is pre-programmed to provide adequate exposure compensation.
- Exposure Compensation:With higher-end cameras, use the exposure compensation feature. Depending on the amount of snow in the frame, you may need to increase this value by +1 or +2 stops to make the snow whiter.
- Exposure Lock:Another technique is to point the camera at a neutral-toned object in the scene, press the shutter button halfway to lock the exposure, then recompose the frame and shoot.
- Adjust the white balance:Instead of using automatic white balance (Auto WB), try switching to "Shade" mode to reduce the cool blue tones. If you shoot in RAW format, color adjustments will be much easier in post-processing.
How to add depth and focus to snow photos.
A photograph that's all white snow can be monotonous and unappealing. To avoid this, find ways to create contrast and focal points.
Incorporate other elements into the frame, such as fences, trees, rocks, or even people. These subjects not only break the monotony of the white background but also create depth and provide visual focus, making the composition more interesting.
Techniques for photographing falling snow
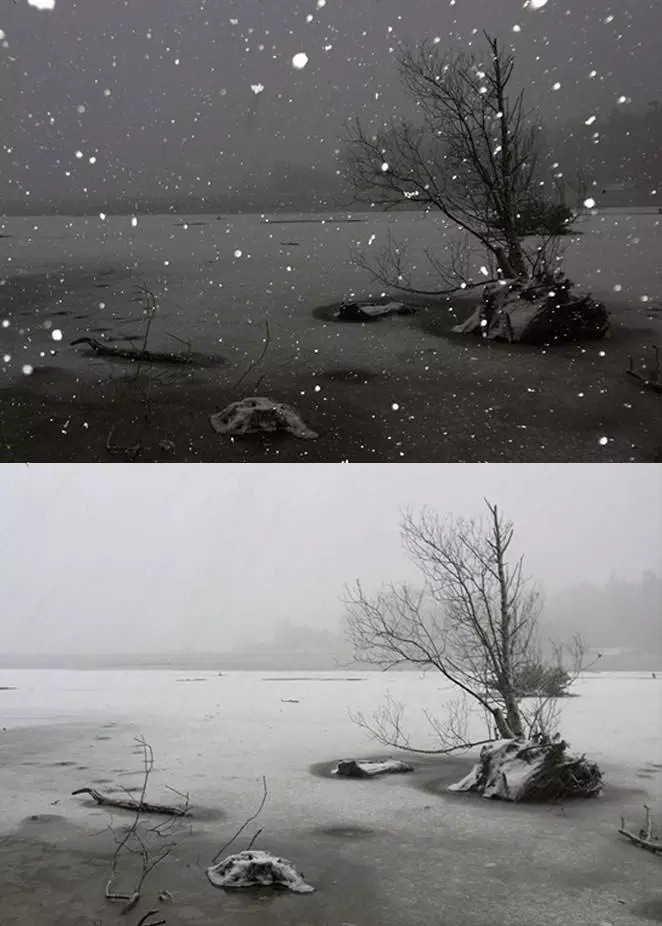
Capturing the moment of falling snow can create emotionally evocative photos, but a common mistake to avoid is using the built-in flash.
When the flash is on, snowflakes close to the lens will reflect light strongly, creating large, blurry spots that are distracting and darken the entire background. Instead, turn off the flash, place the camera on a tripod, and use a slow shutter speed. This technique will capture the movement of the snowflakes as soft streaks of light, creating the feeling of heavy, dreamy snowfall.
Notes and necessary equipment
In addition to the techniques mentioned above, thorough preparation will help you have a more successful photoshoot.
Protect the lens from condensation.
When moving from a warm indoor environment to the cold outdoors, your lens is very susceptible to condensation. Allow your camera time to adjust to the ambient temperature before you begin shooting. Avoid wiping away condensation with a cloth as this can leave streaks on your photos.
Support devices
- Tripod:Using a slow shutter speed is essential when shooting snowfall or in low light conditions.
- Filter:Gradient ND filters are very useful for darkening bright areas of the sky, helping to balance exposure and create photos with more depth.
- Rain Sleeve:If you plan on shooting for extended periods in snowy weather, a rainproof bag will protect your camera and lenses from getting wet due to melting snow.