
The secret to creating unique, colorful ice sculptures right at home.
Discover simple cross-polarization photography techniques, using familiar items like CD cases and computer screens to create abstract works of art from ice.
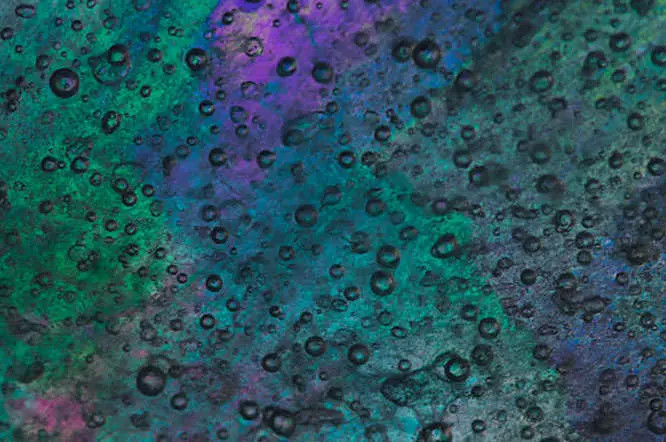
By utilizing cross-polarization photography techniques combined with the effect of ice, you can create impressive, colorful abstract photographs right at home. This method doesn't require complex equipment; it relies mainly on creativity and a few simple items.
The necessary equipment
To perform this technique, you will need the following tools:
- Camera:Any camera with a close-up mode will work.
- Polarizing filter:This is the most important accessory. If your camera doesn't have a filter mounting thread, you can hold the filter in front of the lens while shooting.
- CD case:Use standard thick plastic boxes (the kind used for albums), not thin ones.
- LCD computer monitor:Used as a background light source.
- Tape:To seal the gaps in the CD case.
- Camera tripod or stand:To keep the camera stable during shooting.
Step-by-step process
1. Prepare the ice blocks.
First, you need to create a thin block of ice using a CD case. Remove the disc holder inside. Close the case and use tape to seal any gaps to prevent leaks, leaving only a small opening at the top to pour water into. Fill the case with water and place it in the freezer until completely frozen.
2. Set up a mini "studio".
While waiting for the ice to freeze, set up the shooting space. Turn on your computer screen and set a simple, plain background, preferably a neutral gray. If you can't change the background, you can open a grayscale image in an image editing program and enlarge it to full screen.
To compose and focus without melting the ice, use another empty CD case as a test setup. Position the CD case about 20-30cm from the screen. You can use a book or a dedicated stand to prop the CD case up. Place the camera in front of the CD case, adjusting the lens so that the frame covers a portion of the case's surface.
3. Start taking photos.
Once everything is ready, remove the disc containing the tape from the refrigerator. Carefully separate the tape from the disc. Place the tape in the pre-arranged position, ensuring the flat side of the tape is parallel to the camera sensor to maximize sharpness.
Now, look for interesting areas on the ice surface, such as cracks or large bubbles. These details will make the photo unique. Attach a polarizing filter to the lens (or hold it in front). Slowly rotate the filter and observe the color change on the ice surface. Each rotation angle will create a different color effect.
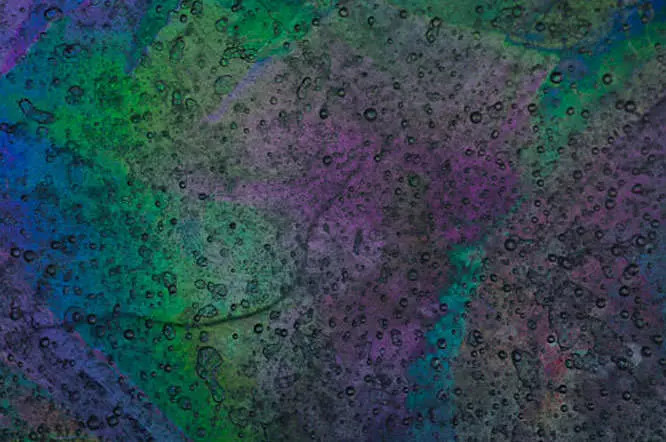
Carefully focus on bubbles or cracks so they stand out clearly. Due to low light conditions and the use of filters, the shutter speed may be quite slow. To avoid blurry photos from hand shake, use the camera's timer mode (2 or 10 seconds).
You'll have about 10 to 20 minutes to take pictures before the ice starts melting rapidly. Act quickly to capture the most beautiful moments.