How to turn a USB drive into virtual RAM to speed up an old computer.
Using the ReadyBoost feature in Windows to utilize USB drives as a cache can significantly improve performance for computers running traditional HDD hard drives.
After a period of use, many computers begin to experience lag, affecting work performance. Instead of expensive hardware upgrades, users can utilize a USB drive to create virtual RAM through the ReadyBoost feature available in Windows 10 and Windows 11.
How ReadyBoost works
ReadyBoost works by using storage space on a USB drive or SD card as a cache. This allows the system to access data faster than reading directly from a traditional HDD. However, if your computer already has an SSD, this feature will not make a significant difference because SSDs are already very fast.
For optimal results, you should use a USB drive with at least 500MB of free space and a fast data transfer speed. Below is a 6-step process for setting up ReadyBoost.
Step 1: Connect the storage device
First, plug the USB drive or SD card into a port on your computer. Make sure the device has enough free space and is working properly.
Step 2: Access File Explorer
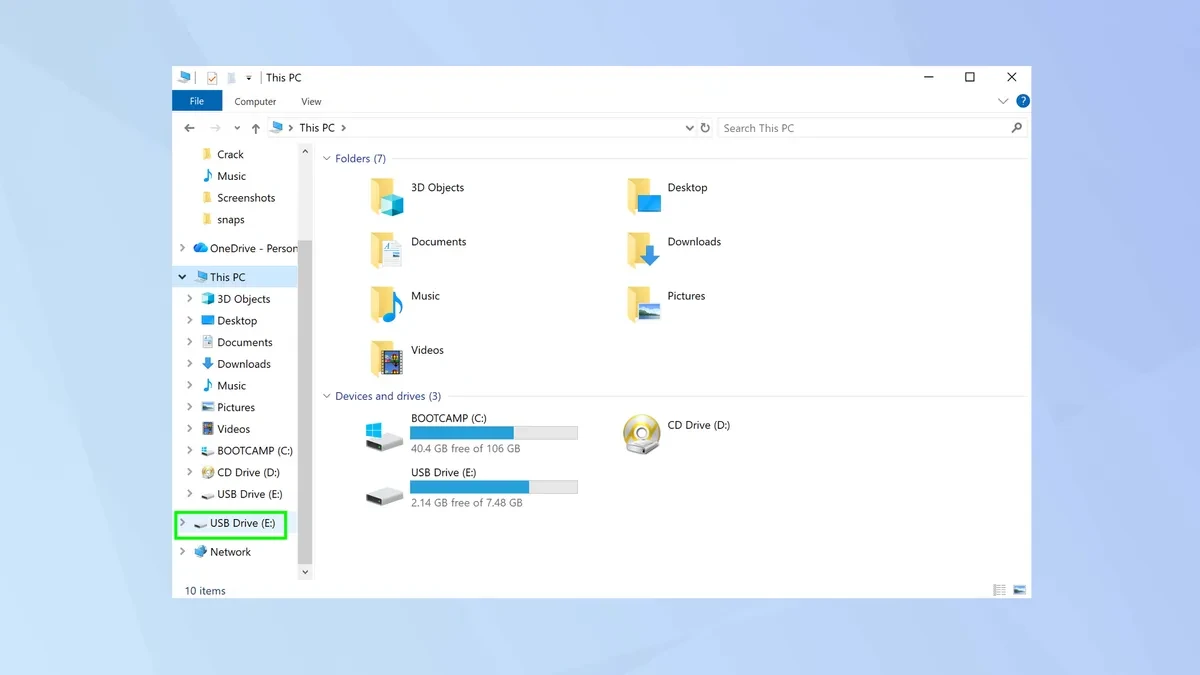
Open the File Explorer application (Windows + E shortcut). Here, you will see the new USB drive icon appear in the list of storage devices in the left column.
Step 3: Open the device properties panel.
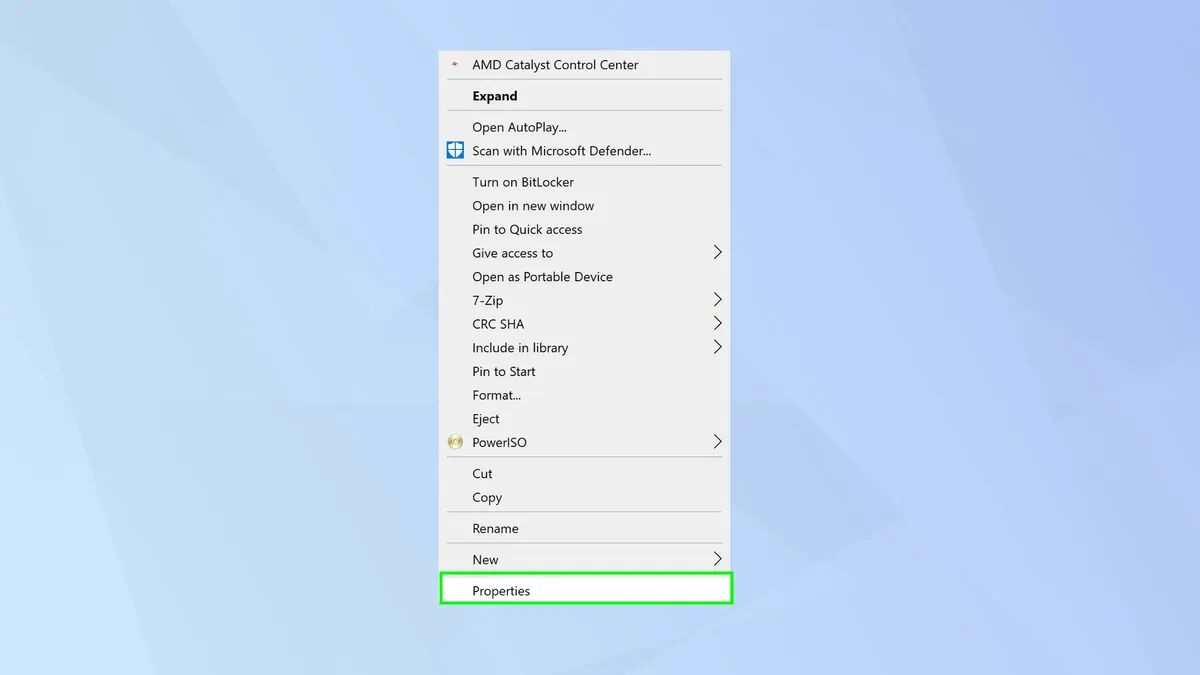
Right-click on the USB drive or SD card icon, then select the option.barrier(Properties) at the end of the options list.
Step 4: Activate the ReadyBoost feature.
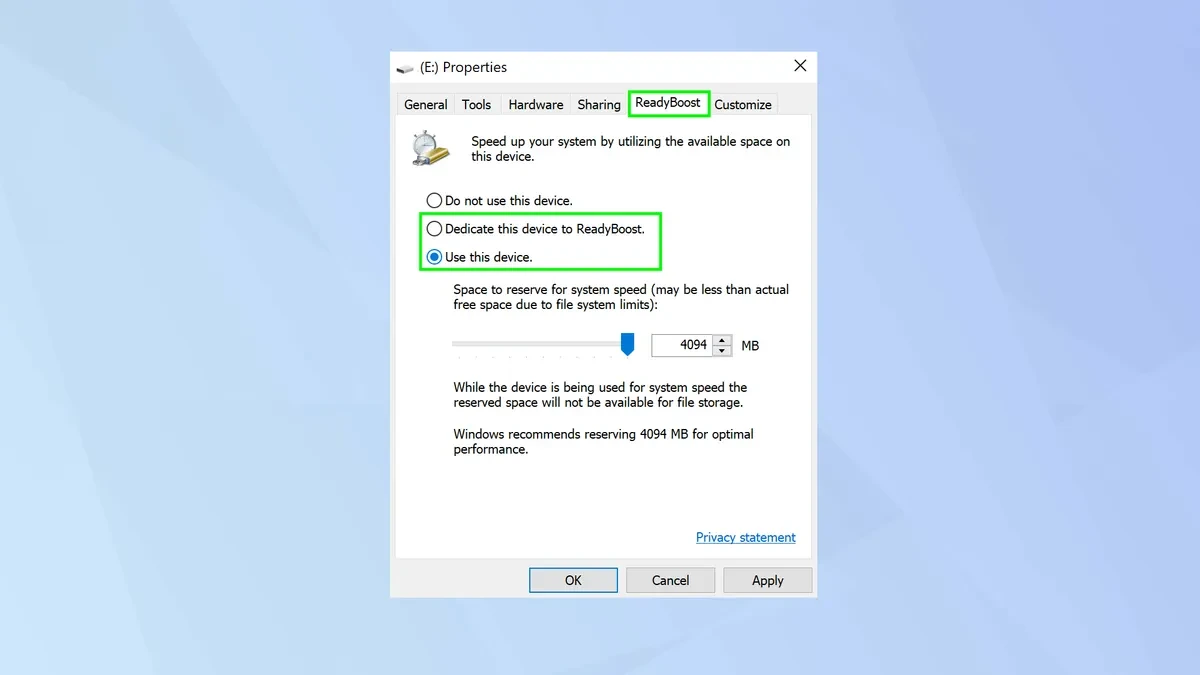
In the Properties window, switch to the tabReadyBoostHere, you have two main options:
- Dedicate this device to ReadyBoostUse all the free space on the USB drive as virtual RAM.
- Use this deviceOnly a portion of the storage space is used; the rest is reserved for regular data storage.
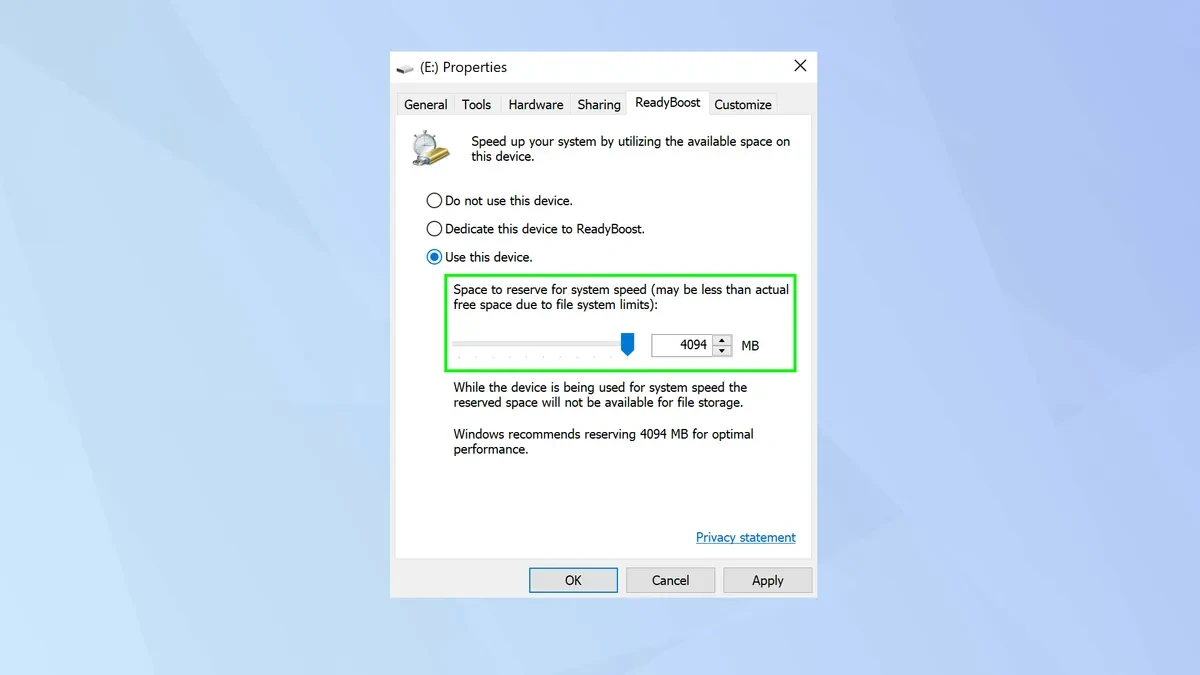
Step 5: Allocate cache memory
Use the slider to adjust the amount of space you want to allocate. Technically, you should allocate 1 to 3 times your computer's actual RAM capacity. Windows will also suggest a suitable amount for optimal system performance.
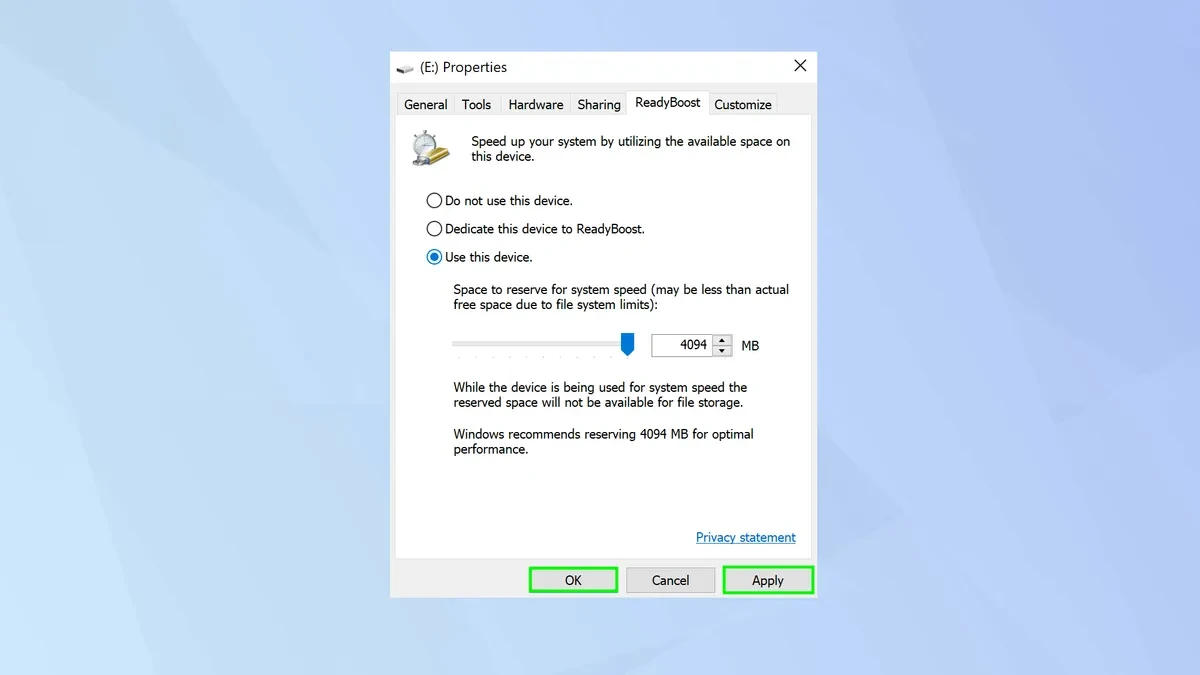
Step 6: Complete the configuration
After the setup is complete, pressApply(Apply) and selectOKThe system will create a cache file on the USB drive and begin using it as additional memory to speed up processing tasks.
Important notes
Although ReadyBoost is an effective temporary solution for weak machines, users should note that it cannot completely replace physical RAM. Actual performance depends heavily on the speed of the USB port (USB 3.0 is preferred) and the type of hard drive in the computer. This is considered the most useful trick to "revive" older laptops or PCs that are struggling to run modern versions of Windows.

