
Installing Windows 11 on a custom partition: Hard drive optimization
This guide provides detailed steps to create custom partitions during the Windows 11 installation process, helping you effectively manage storage space for dual-booting or separating data.
Installing Windows 11 on a custom partition allows users better control over storage space, rather than letting the installer automatically occupy the entire hard drive. This method is particularly useful when setting up a dual-boot system or wanting to separate the operating system and personal data for safer and more efficient management.
Prepare what you need to before you begin.
Before proceeding, there are several important preparatory steps to ensure a smooth installation process and the safety of your data.
Back up your data.
Important:The process of creating a new partition and performing a fresh installation will erase all data on the selected drive. Therefore, creating a full backup of important files is mandatory before proceeding.
Prepare the USB installer.
You will need a USB drive containing the Windows 11 installation files. The computer will boot from this USB drive to begin the installation process. To boot the computer from the USB drive, you may need to access the computer's UEFI/BIOS settings. This is usually done by pressing a function key (such as F1, F2, F10, F12), the ESC key, or the Delete key when the computer starts up. Refer to the computer manufacturer's support website for accurate instructions.
Instructions for creating partitions during Windows 11 installation.
Follow the steps below to create a separate partition for Windows 11 directly from the installer.
- Boot your computer from the prepared Windows 11 installation USB drive.
- Press any key when prompted to begin the process.
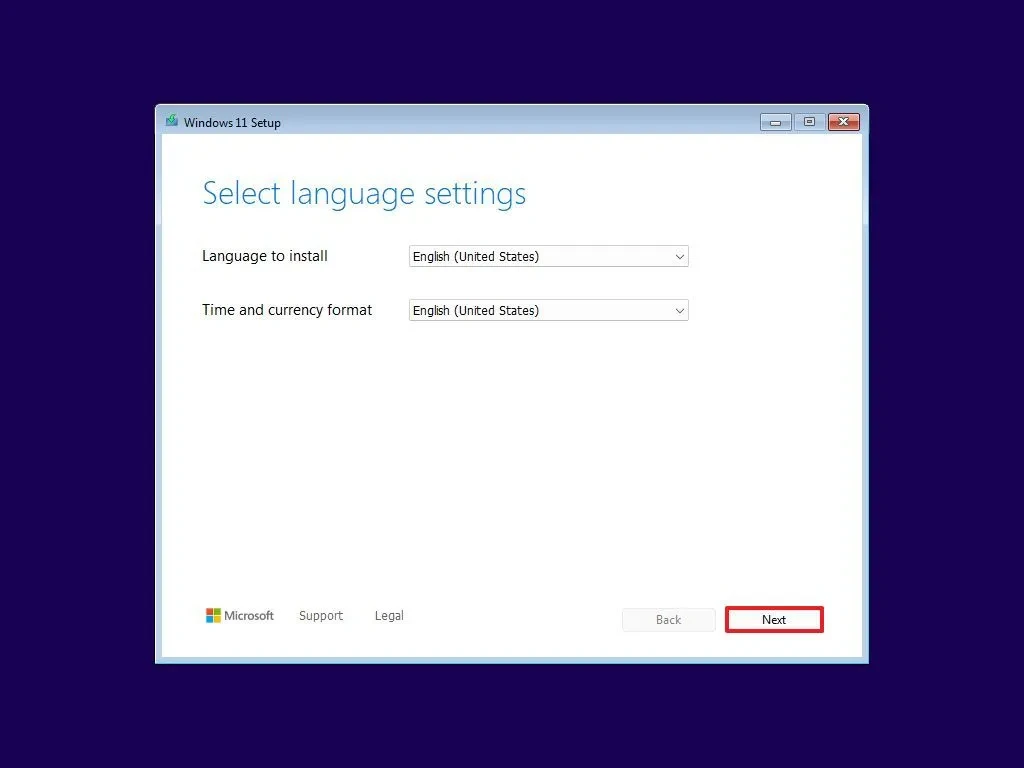
- Select your language, time format, and input method, then press Enter.Next.
- Press the buttonInstall now.
- Enter your product key. If you are reinstalling, you can select...I don't have a product key.
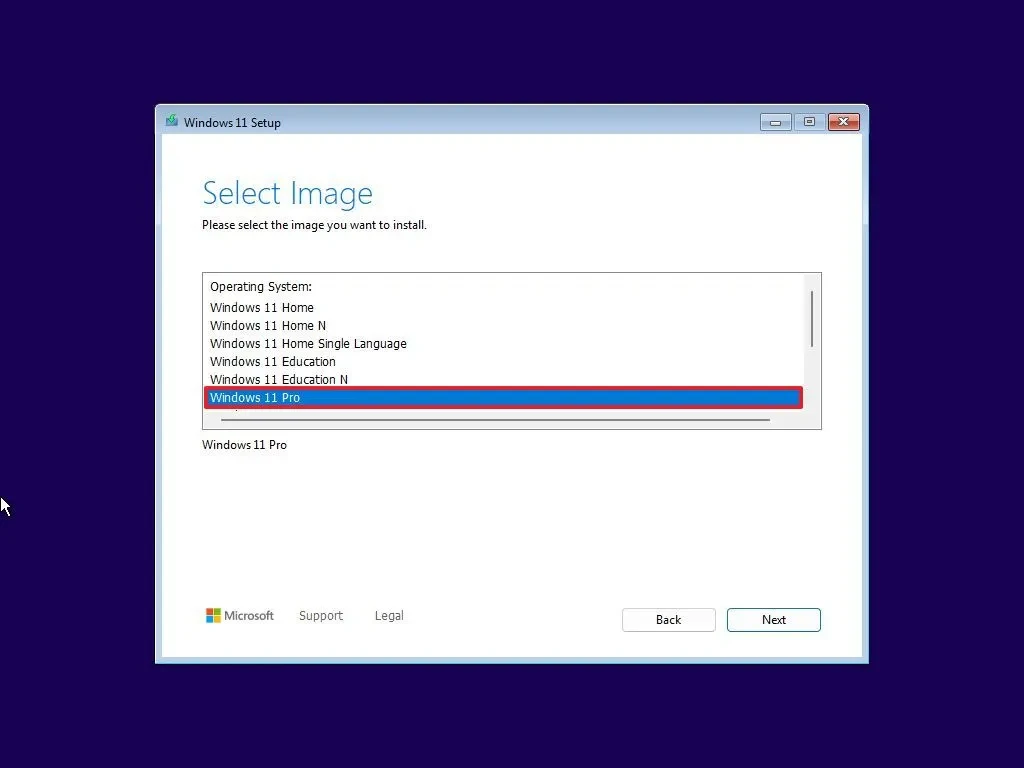
- Select the version of Windows 11 you want to install and press Enter.Next.
- Accept the terms of service and selectNext.
- Select an optionCustom: Install Windows only (advanced).
- On the drive selection screen, choose Unallocated Space on the hard drive where you want to install. If the drive already has partitions, you need to delete them to create free space.
- Click hereNewTo begin creating a new partition.
- In the boxSizeEnter the desired partition size (in MB). Windows 11 requires a minimum of 64GB (equivalent to 65536 MB), however, you should allocate at least 100GB (102400 MB) to ensure sufficient space for future updates and applications.
- PressApplyA message will appear indicating that Windows may create additional system partitions as needed. Press [button/button].OKTo confirm.
- The installer will automatically create small partitions for the system (System, MSR, Recovery) and a primary partition with the size you specify.
- Select the primary partition you just created (usually the one with the largest capacity) and press Enter.NextTo begin installing Windows 11.
After the installation process is complete, the computer will restart, and you will need to complete the initial setup steps (Out-of-Box Experience - OOBE) to create a user account and personalize the settings.
Create additional partitions from available free space.
If you haven't used up all of your hard drive space during installation, the remaining space will be in an "Unallocated" state. You can use Windows' disk management tool to create additional partitions for data storage.
- Openadjustingfrom the Start menu.
- SelectSystem, then go to the sectionBrain.
- Scroll down and selectAdvanced storage settings, then click onDisks & volumes.
- Select the drive with unallocated space.
- Press the buttonCreate volume.
- Give the new drive a name (Label) and choose a letter for it.
- In the sectionFile system, selectNTFS.
- Determine the size for the new partition. If you want to use all the remaining free space, you can leave it as default.
- Press the buttonFormatTo complete.
Once completed, the new partition will appear in File Explorer and be ready for you to store data, completely separate from the partition containing the operating system.