
4 ways to create a local account when installing the latest Windows 11.
Microsoft has removed the familiar OOBE\BYPASSNRO command, but users can still create local accounts. This guide details four effective alternative methods.
Microsoft has officially removed the OOBE\BYPASSNRO command, a popular method for bypassing the Microsoft account login requirement during Windows 11 installation. However, users still have several ways to set up a local account, offering greater privacy and flexibility. Below are proven technical methods for creating a local account during the initial installation (OOBE).
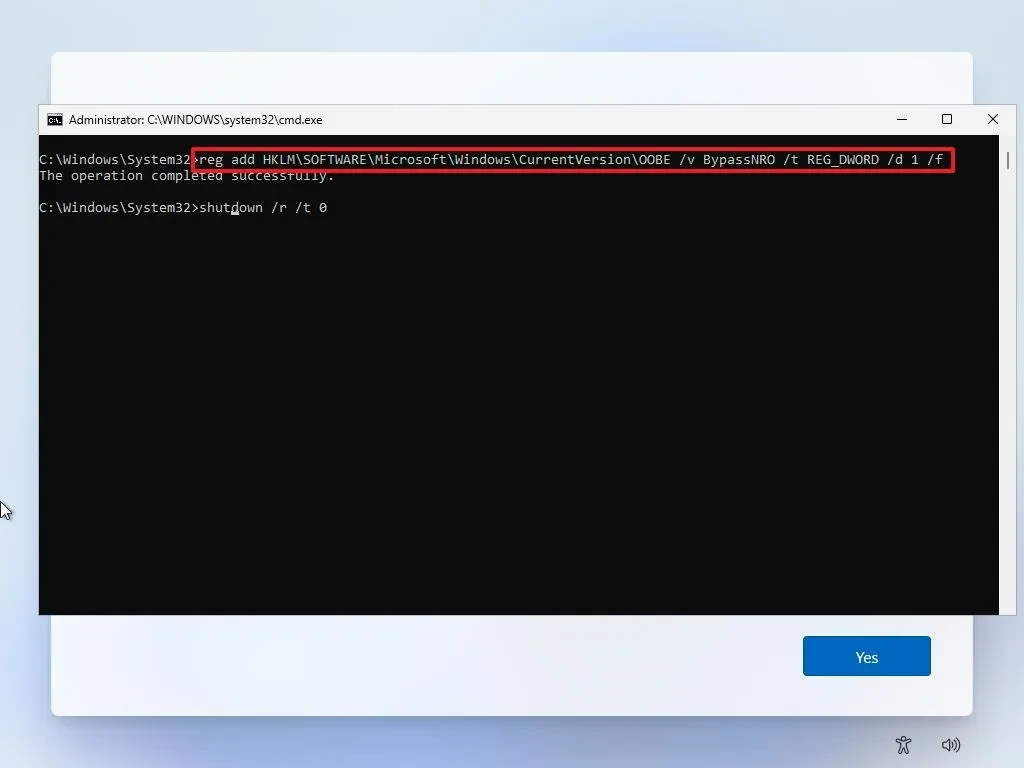
Method 1: Edit the Registry to enable BypassNRO
Although the direct command has been removed, you can still enable the BypassNRO function through the Registry Editor. This is the most direct and effective alternative method.
- On the region settings screen, press the key combination.Shift + F10To open Command Prompt (CMD).
- Enter the following command to add a key to the Registry and press Enter:
reg add HKLM\SOFTWARE\Microsoft\Windows\CurrentVersion\OOBE /v BypassNRO /t REG_DWORD /d 1 /f - Next, enter the command to restart the computer and press Enter:
shutdown /r /t 0 - After the computer restarts, on the region settings screen, pressShift + F10once again.
- Enter the order
ipconfig /releaseand press Enter to disconnect from the network. You can also physically disconnect by unplugging the Ethernet cable or turning off Wi-Fi. - Continue with the installation steps. When you reach the network connection screen, you will see the option."I don't have internet"(I don't have internet).
- Select"Continue with limited setup"(Continue with setting limits).
- Follow the instructions to create a username and password for your local account.
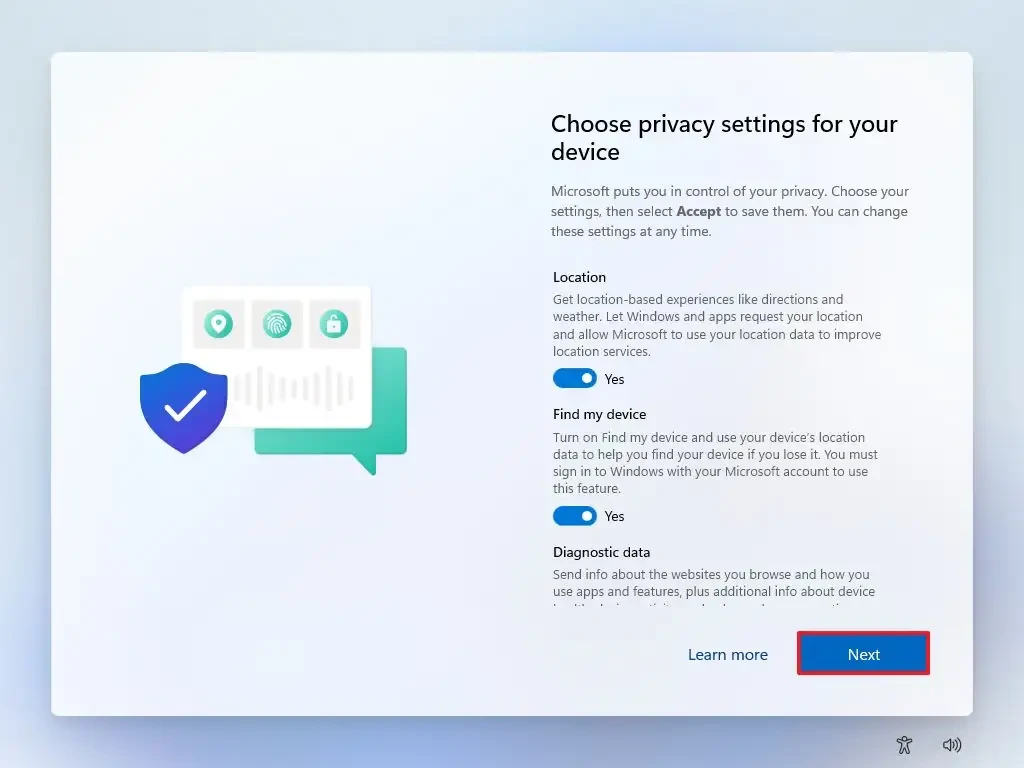
Method 2: Using the Developer Console
Another method utilizes the Developer Console, located directly on the Microsoft account login screen, to launch the local account creator.
- On the screen prompting you to log in to your Microsoft account, press the key combination.Ctrl + Shift + JTo open the Developer Console.
- Enter the following command exactly and press Enter:
WinJS.Application.restart("ms-cxh://LOCALONLY") - Press the keyEscape (Esc)Or click repeatedly outside the console screen to close it.
- The old-school Windows 10-style local account creation screen will appear, allowing you to enter a username and password.
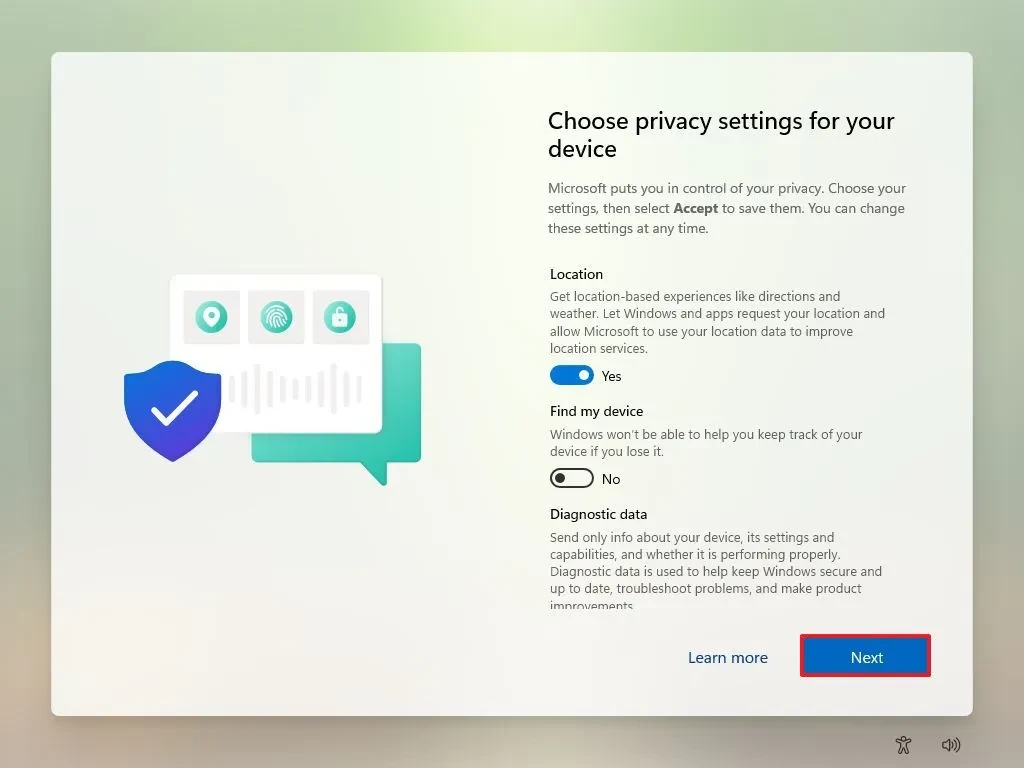
- Complete the remaining privacy settings to access the desktop screen.
Method 3: Disable the online account screen
This method also uses the Registry to completely hide screens requesting Microsoft account login, forcing the system to switch to the local account creation process.
- On one of the first setup screens, pressShift + F10To open Command Prompt.
- Enter the following command and press Enter:
reg add HKLM\Software\Microsoft\Windows\CurrentVersion\OOBE /v HideOnlineAccountScreens /t REG_DWORD /d 1 /f - Close the Command Prompt window and continue the installation process.
- The system will skip the steps requiring an internet connection and login, directly taking you to the local user account creation page.
- Enter your username and password and complete the remaining steps.
Outdated method: Commands via account manager
Command methodstart ms-cxh:localonlyIt used to be very effective, butno longer in operationThis information is available on newer Windows 11 builds (from build 26220.6772 and 26120.6772 onwards). However, it is still useful for those installing older versions of the operating system.
Other alternatives
In addition to the methods above, users can utilize third-party tools such asRufusorVentoyTo create a custom Windows 11 installation USB, these tools often include an option to automatically skip the Microsoft account requirement. For Windows 11 Pro users, you can select the "Set up for work or school" option and then choose "Domain join instead" to create a local account.