Backing up Windows 11 to a network drive: A guide to protecting your data.
This guide provides detailed instructions on how to create a full system backup of Windows 11 and 10 to a network attached storage (NAS) drive using built-in tools, ensuring the safety of all your important data.
Why should you back up your system to a network drive?
Creating a full system backup is a crucial step in protecting your data from incidents such as hard drive failure or software errors. If you don't have an external USB hard drive, you can utilize a network attached storage (NAS) drive or file server to store these backups. Windows 11 and Windows 10 still include a powerful, older tool called "Backup and Restore (Windows 7)" that allows you to perform this task.
This article will provide detailed instructions on how to create a full backup, including personal files and the entire operating system, to a storage location on your local network.
Distinguishing between File Backup and System Image
Before we begin, it's important to understand the two main types of backups this tool offers:
- File backup:This option focuses on copying your personal files such as documents, images, and videos. It allows you to restore individual files or folders when needed. However, it does not back up the operating system or installed applications.
- System Image:This is an exact copy of your entire system drive. It includes the operating system, programs, settings, and all your files. When restoring from a system image, the computer will return to the exact state it was in at the time the backup was created, but it cannot be used to restore individual files.
For comprehensive protection, the best approach is to create a backup that includes both system files and images.
Instructions for creating a full backup to a network drive.
This method will create a comprehensive backup, combining both personal data and a system image, allowing for flexible recovery in a variety of situations.
- Open menuStart, search"Control Panel"and open the application.
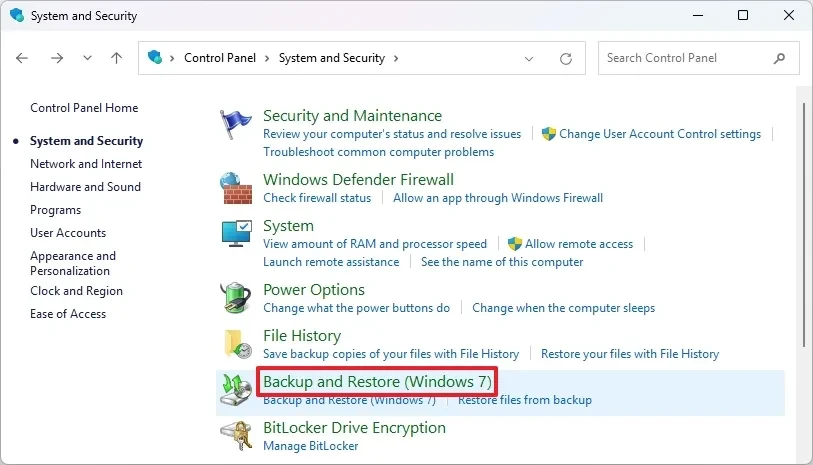
- In the Control Panel, selectSystems and Security.
- Click hereBackup and Restore (Windows 7).
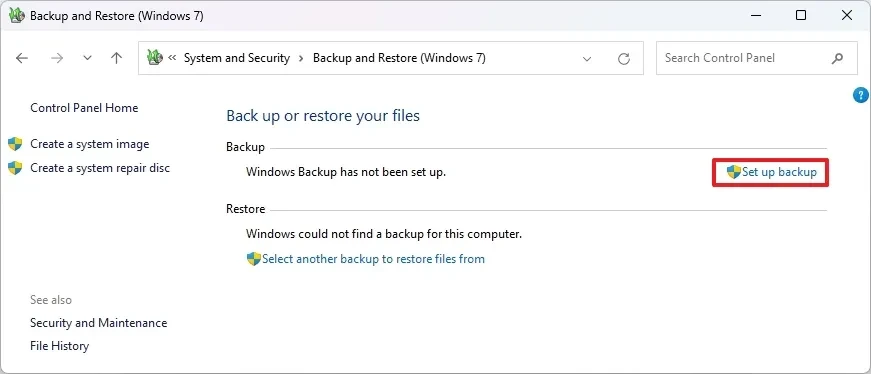
- In the "Backup" section, selectSet up backup.
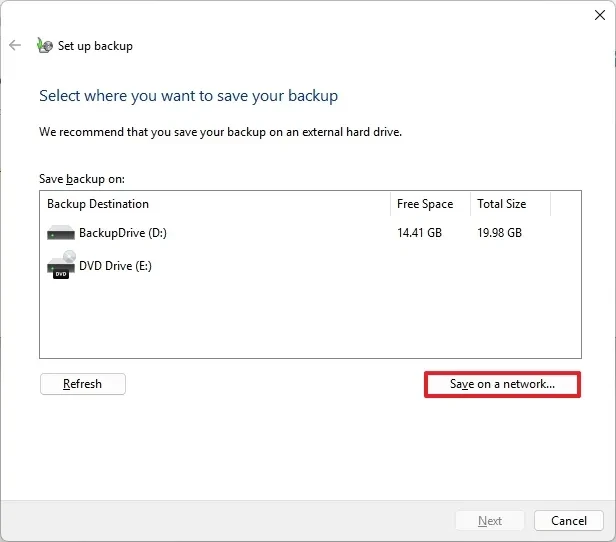
- A new window will appear, selectSave on a network...
- Enter the path to the shared folder on the network and login information (username, password) if prompted.Tip: If you encounter an authentication error, try entering the username in the format "ServerName\Username".
- PressOKand thenNext.
- Select an optionLet me chooseTo have full control over what is backed up.
- Check the boxes next to the files and folders you want to back up. Most importantly, check the box next to that."Include a system image of drive..."To create a full system recovery backup.
- PressNextTo continue.
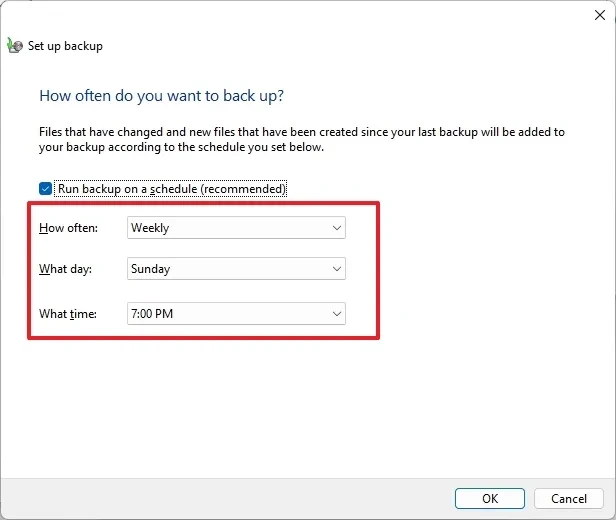
- You can review the settings and change the automatic backup schedule by clicking here.Change schedule.
- Finally, clickSave settings and run backupto begin the process.

The process of backing up data over a network can take longer than using a USB hard drive, depending on the amount of data and your network speed.
How to create only a System Image
If you only need a full system backup for recovery after a crash without backing up individual files, follow these steps:
- OpenControl PanelnewsSystems and SecuritynewsBackup and Restore (Windows 7).
- In the left column, selectCreate a system image.
- Select an optionOn a network locationand clickSort.
- Enter the network address and login information using the same method as above.
- PressOK, thenNext.
- Confirm which drives will be included in the system image and click.Start backup.
Once complete, you will have a complete system image file securely stored on a network drive.
Note regarding the "Backup and Restore (Windows 7)" tool.
It's important to know that "Backup and Restore (Windows 7)" is a deprecated feature from Windows 11 and 10. This means Microsoft is no longer actively developing it and may remove it in future versions. However, it still works reliably and is a free, effective solution for creating full backups, especially useful when upgrading your hard drive or preparing for a major Windows update.

