What do you think if on the Mid-Autumn Festival, you appear in a shiny Iron Man mask to the surprise of your friends (mostly because they don't know who is wearing the mask and keeps coming close to you like that). Today, GameK will guide you how to create an Iron Man mask to go out on the Mid-Autumn Festival.
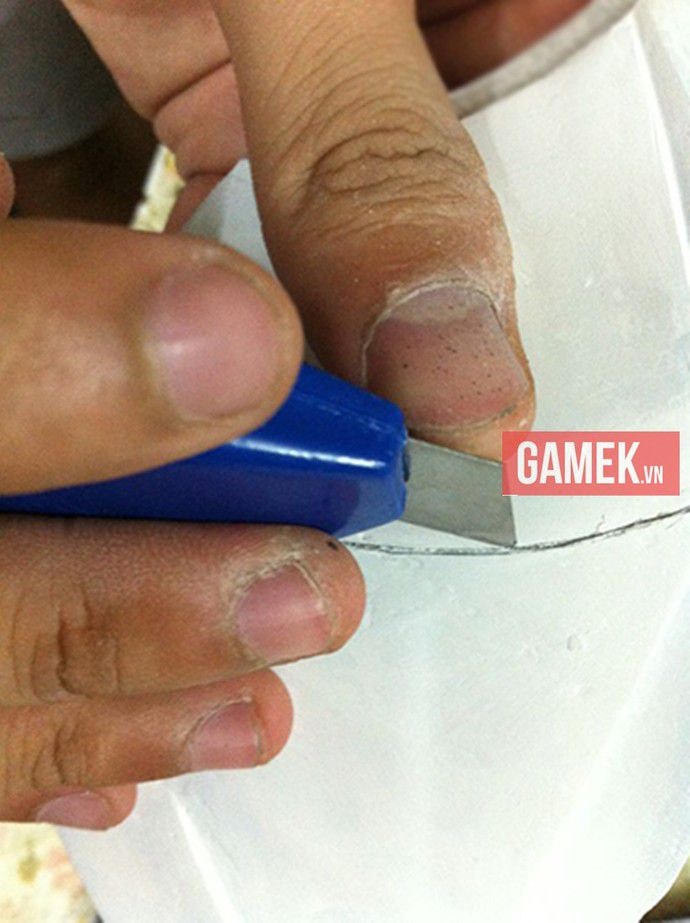
First, you will need to download the template below to your computer, print it out on paper. If you use cardboard, you can cut it out, but if you use foam or composite, you will cut it according to the printed template:
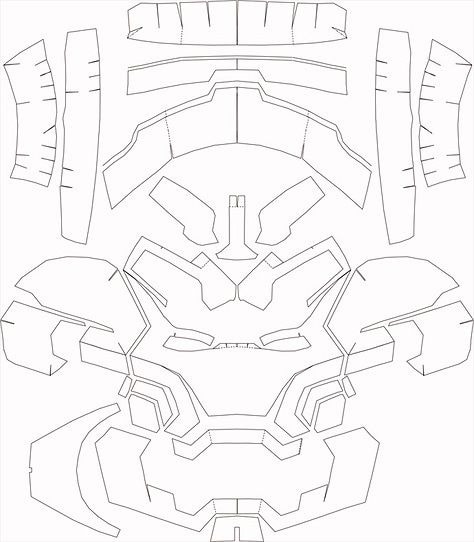 |
| Iron Man Template, click on the image and download the full version and print it. |
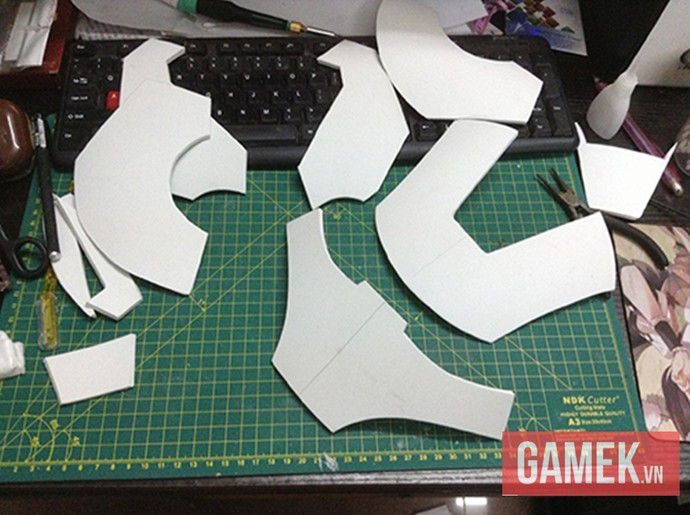 |
| Parts can be made of foam or cardboard. |
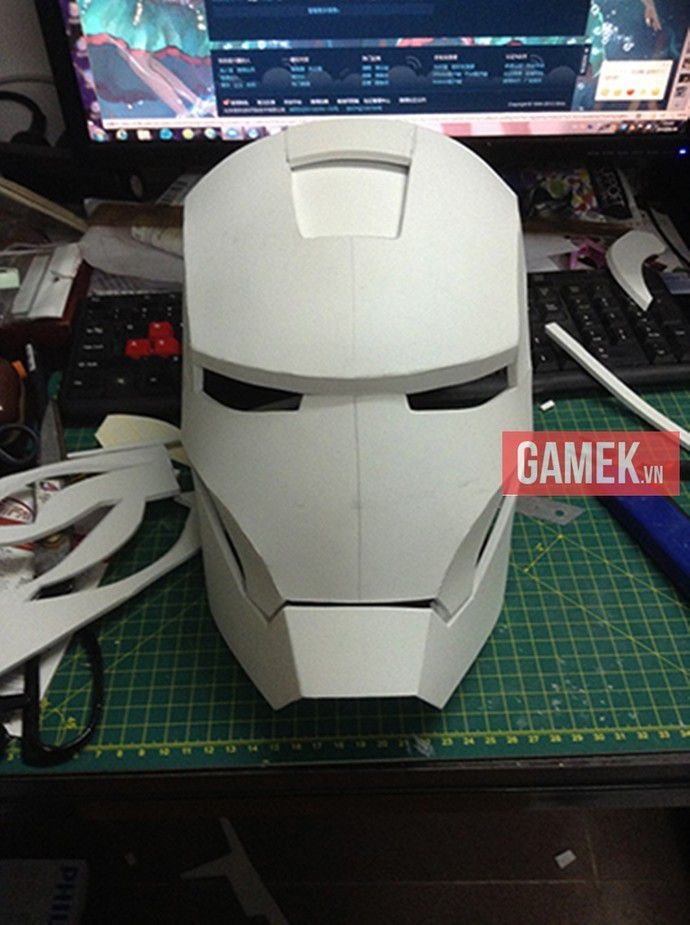 |
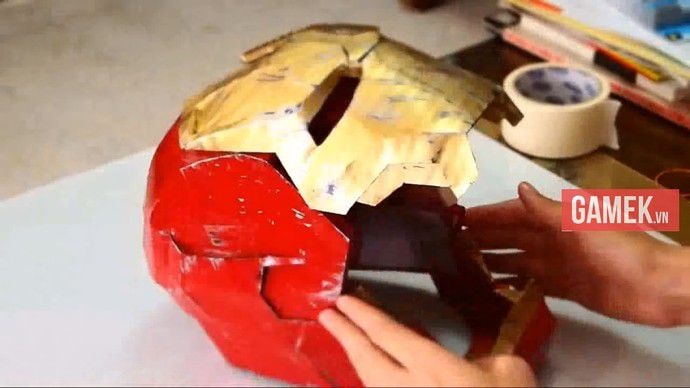
| Once you're done, you can reassemble it into a temporary mask like this. If you want, you can paint it and use it. However, if you want to give it more realism and rigidity, continue with the following steps... |
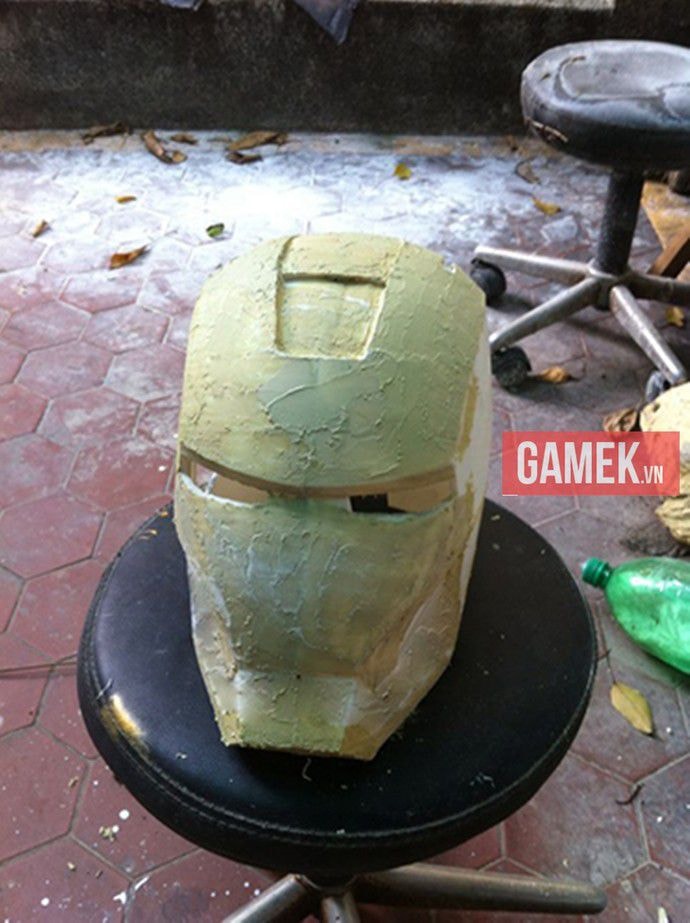 |
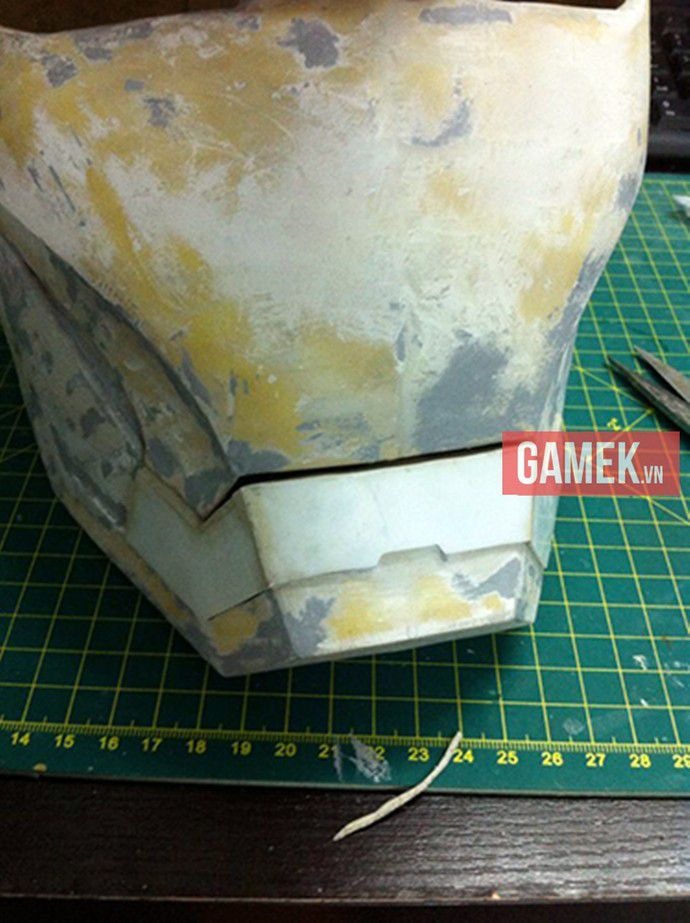
| Create a smooth and even surface for the mask using putty. Spread the putty evenly around the mask, let it dry, and shape it to the right shape. |
 |
| Pay attention to detail areas like this to highlight the craftsmanship of the product. |
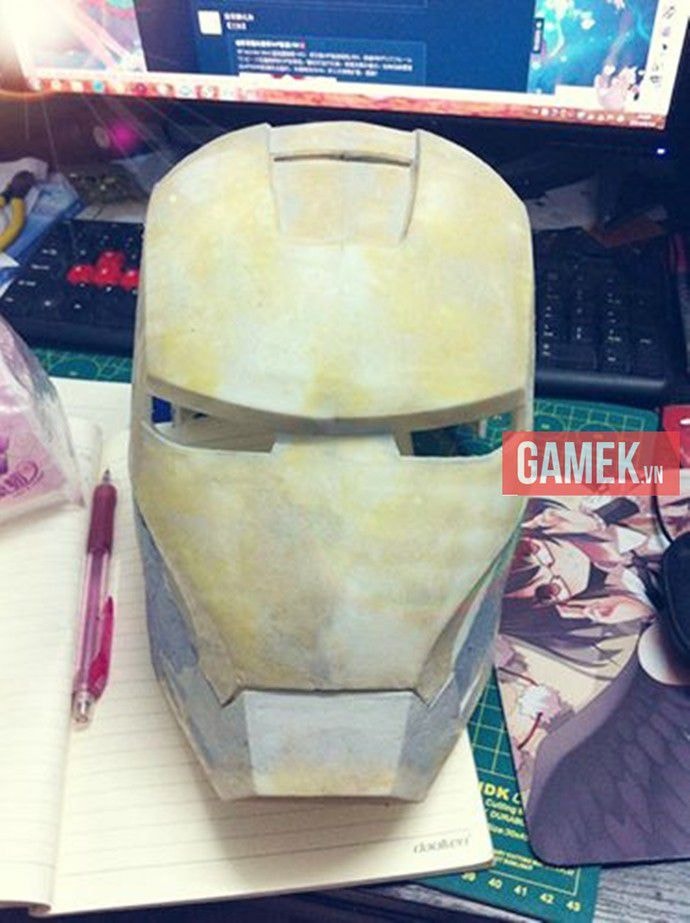 |
| Then use sandpaper to smooth the parts. |
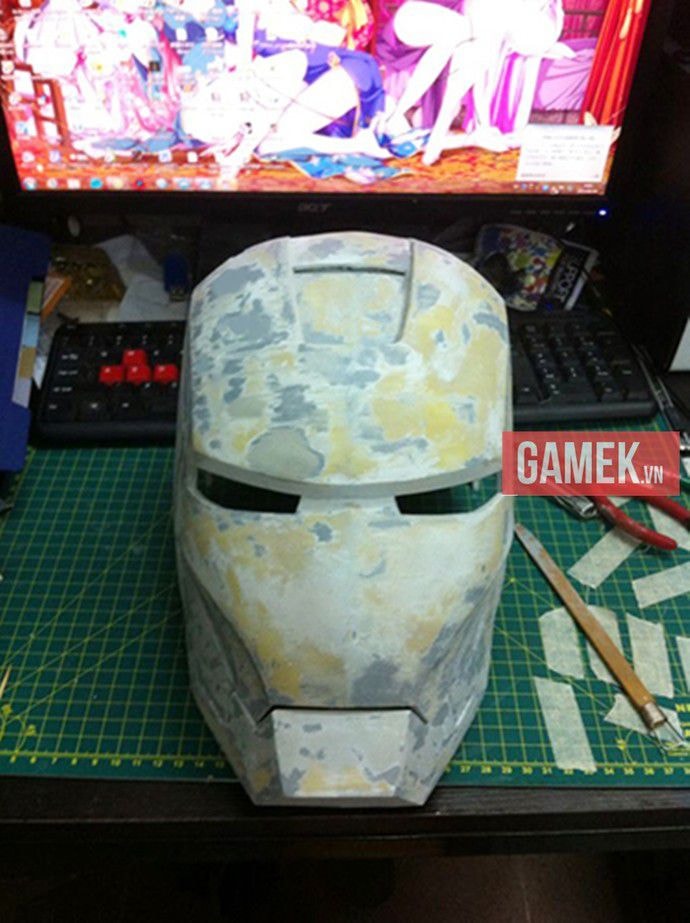 |
| Try to sand the surface until it is really smooth, with no bumps or uneven areas. |
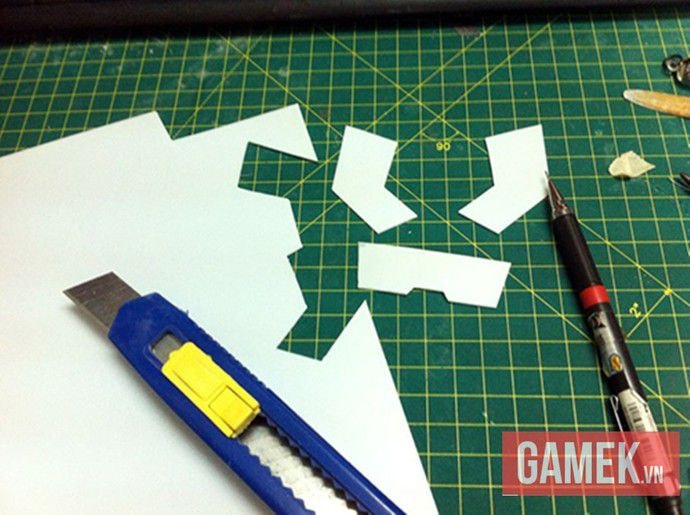 |
| You cut out additional small details and attach them to the mask to create a metal edge for the mask. |
 |
| An example after gluing to the mouth part. |
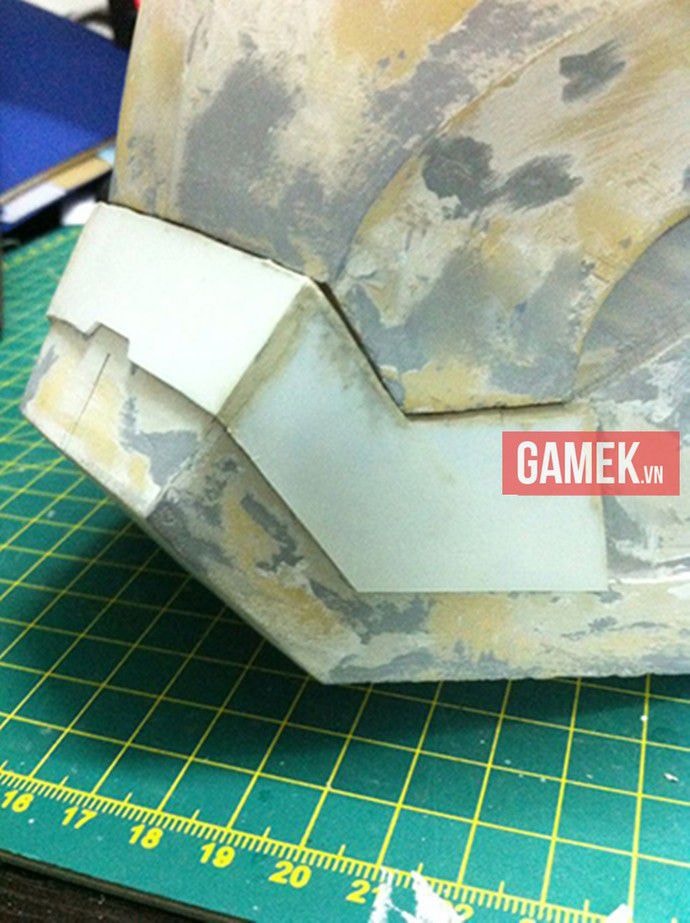 |
| The mouth will now appear more raised and have a metallic mask look. |
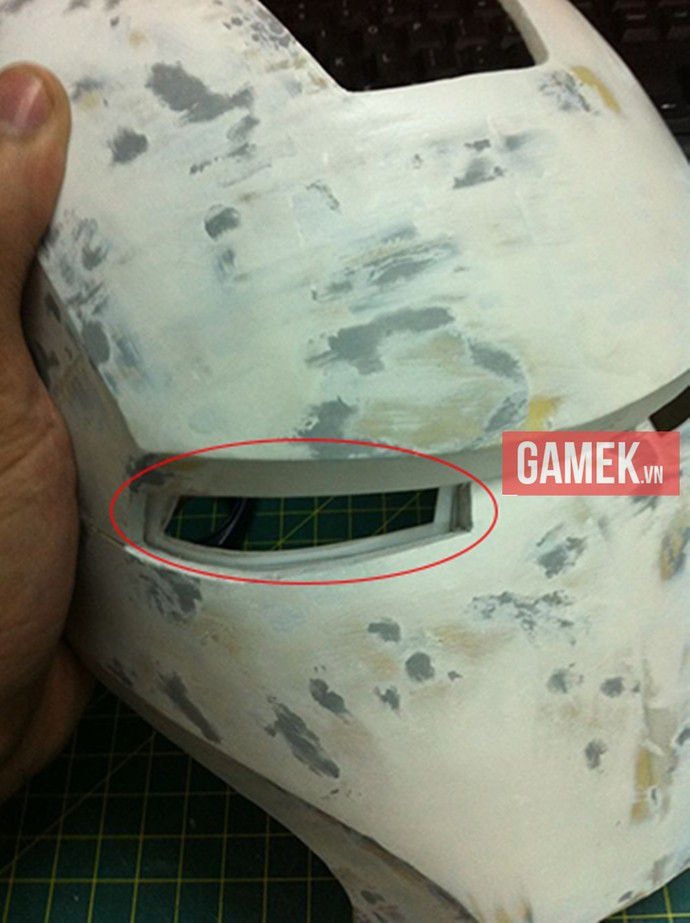 |
| For more detail, cut another piece of cardboard and attach it to the inside of the eye to create outline and depth for this eye. |
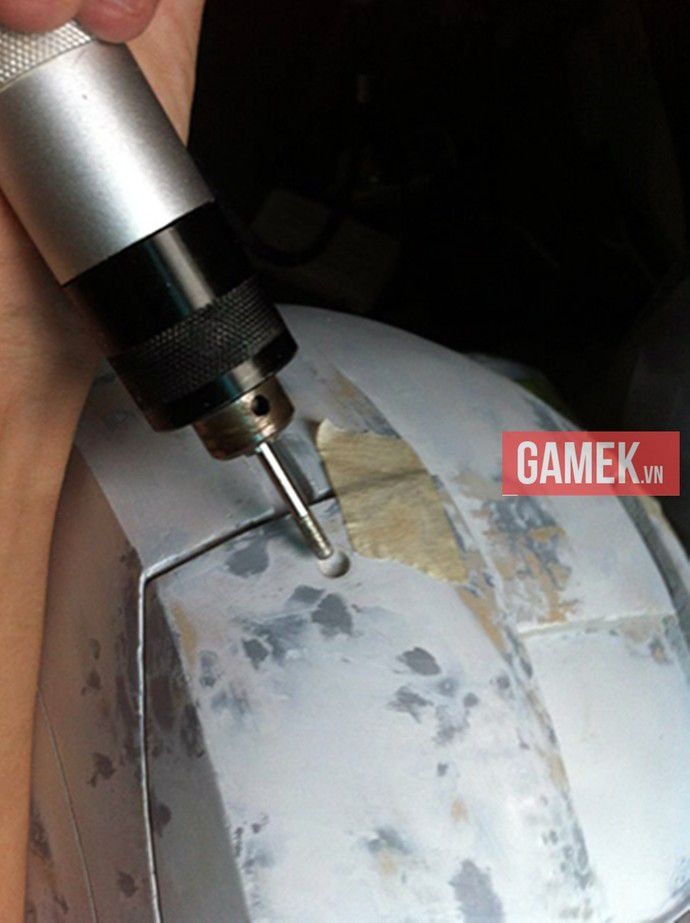 |
| Use a drill to make small holes in the mask. |
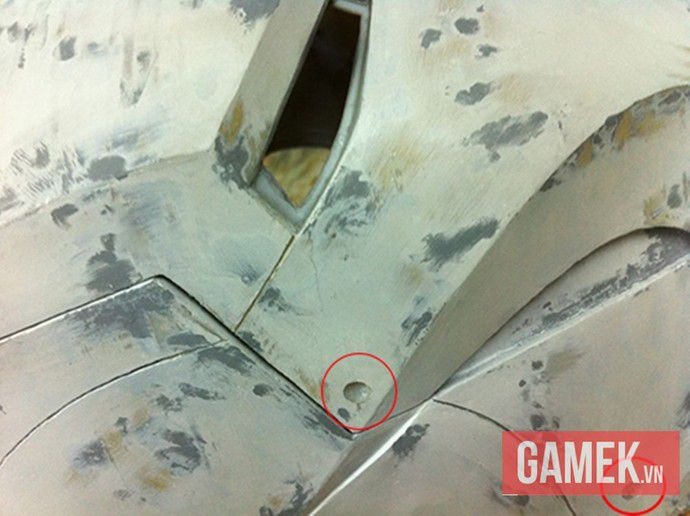 |
| Try to make the hole as round as possible and not distort it like this. |
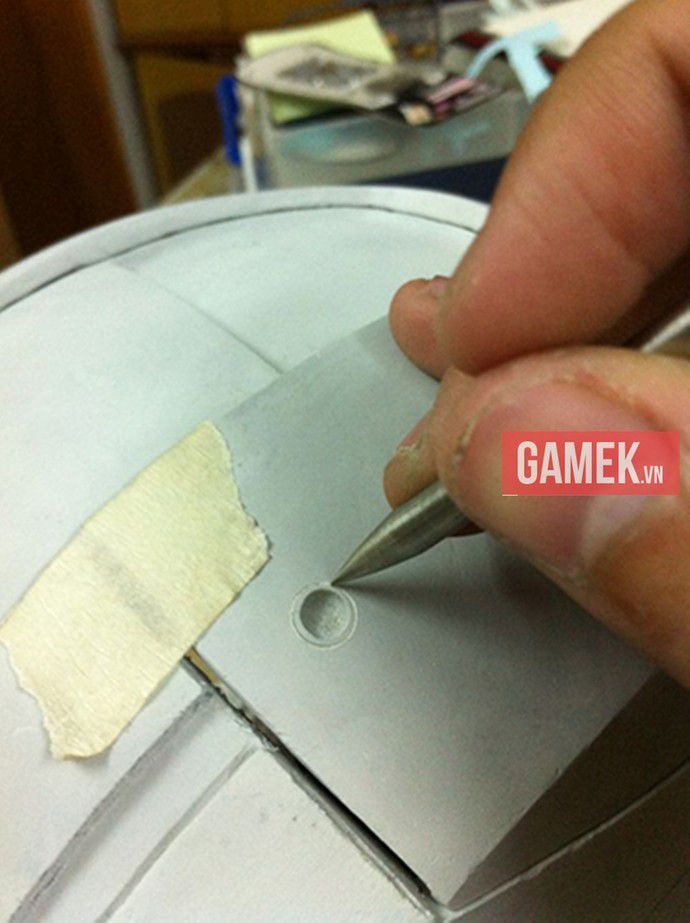 |
| Cut a circle around it. |
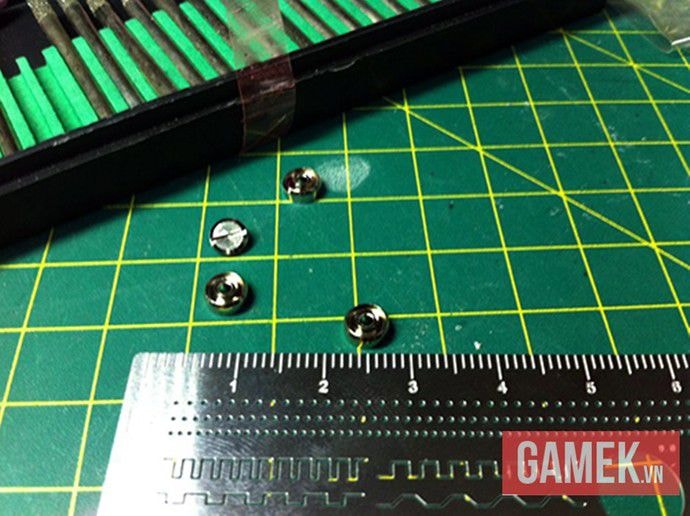 |
| Add these cap studs to make the mask look like it is made of metal. |
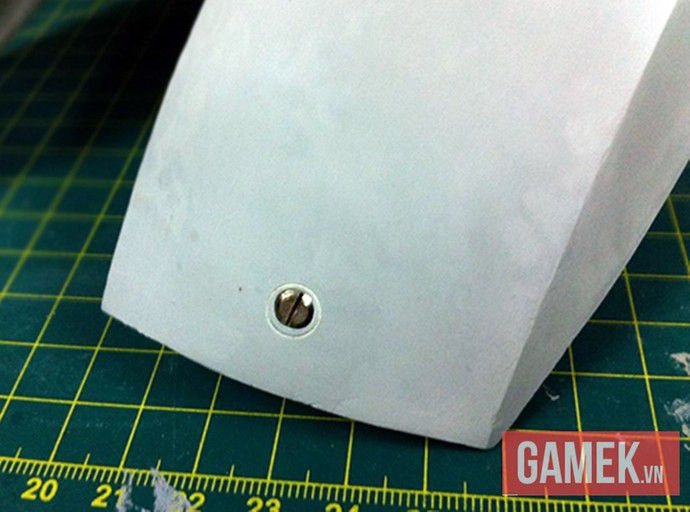 |
| After mounting it will look like this. |
 |
| Finally paint the two main parts. |
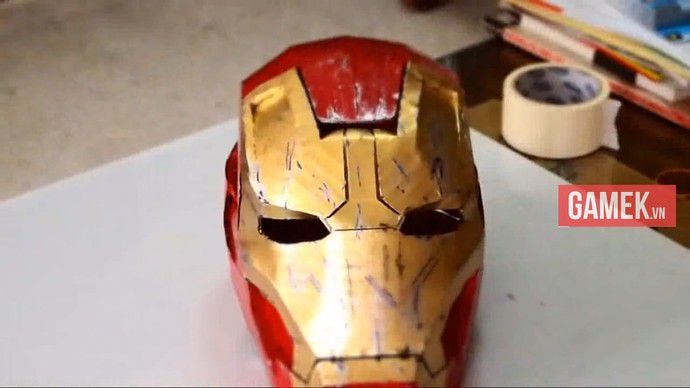 |
| Adds metallic scratches to the mask. |
Hopefully the above instructions will help you create a beautiful Iron Man mask.
>>>Details
According to Gamek.vn